Saturday, 25 August 2012

Vintage Christmas Tree Boxes to Make

Can be found in Artwolf on Etsy

Tuesday, 3 July 2012

Rosettes for all Occasions

Ready printed Templates for you to print and make up in Artwolf on Etsy. Retro Halloween, Poe, and Trick or Treat, in the Halloween style with a Lovely Cherubs Romantic style too. Make your own at a fraction of the price, instead of buying expenisive machines and templates. As well as the picture run through below, all Artwolfs rosette purchases come with a detailed text and diagram sheet on tips and assembly. These rosettes are best printed onto a good quality weight paper, and made up to be either a finished, or a professional looking start point to your own party decorations. You can add tuille, crepe, ribbons, attach them to batons and add lots of crunchy glitter.

Tuesday, 5 June 2012

Fly Past Pomp & Ceremony

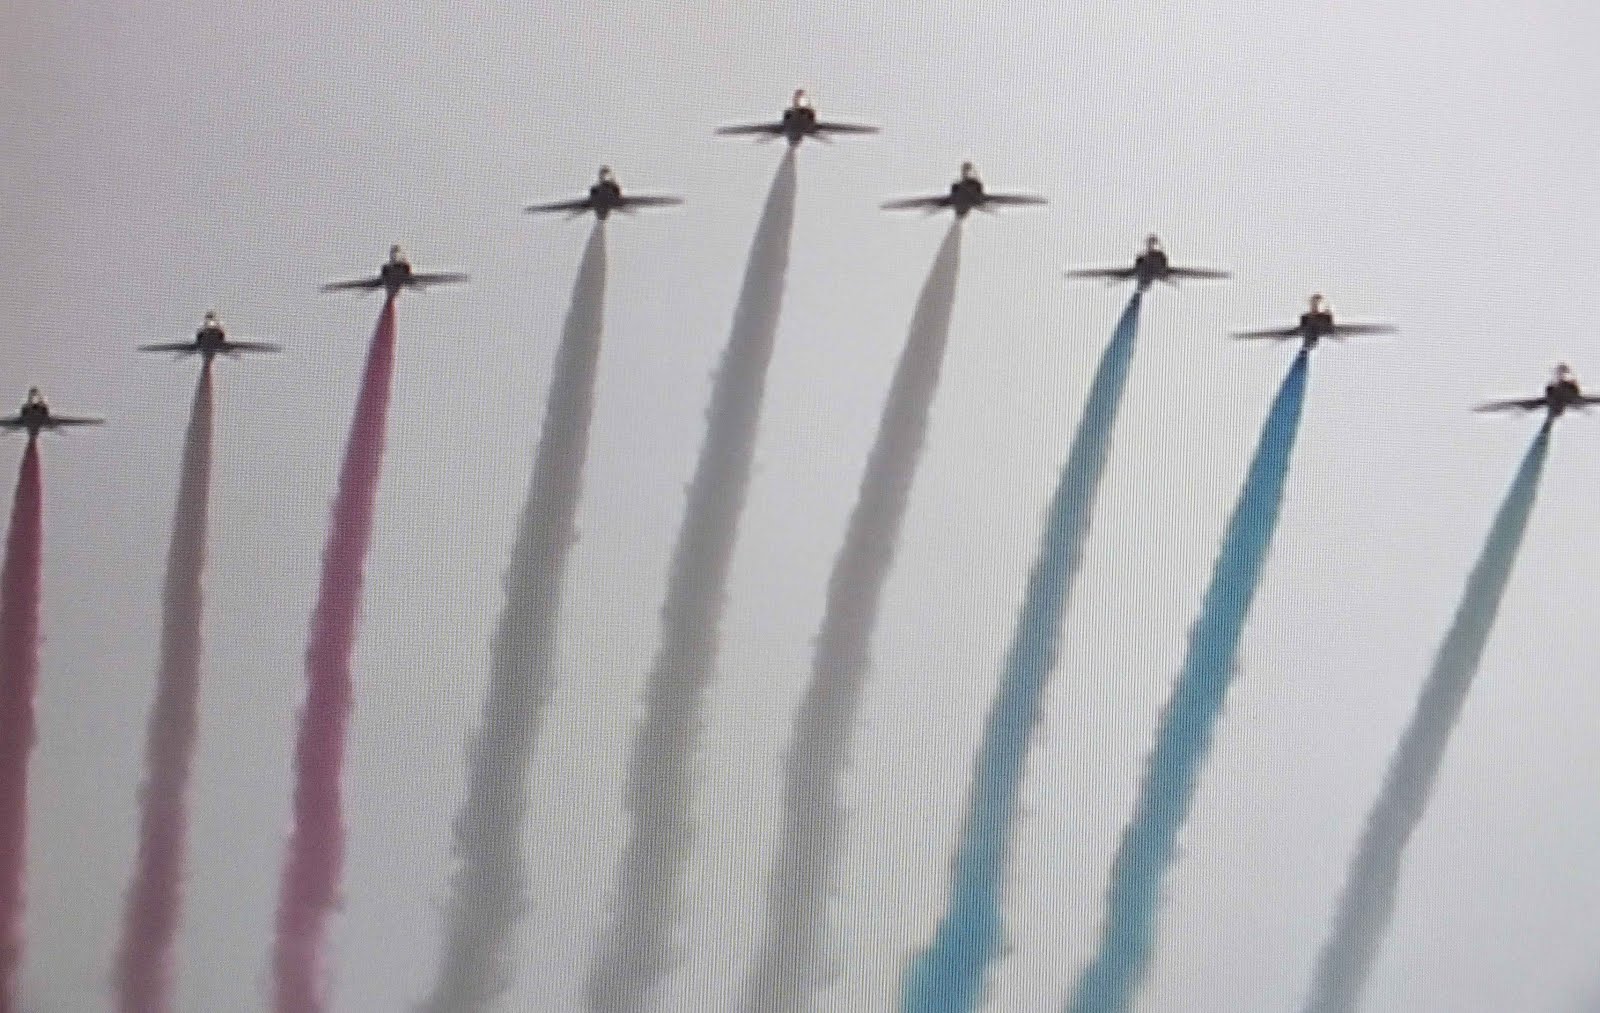
After The drive by, The crowds are allowed to fload The Mall Right up to The Palace. Where The Queen and family members appeared on the balcony. A Stirring Fly past by Dakota and Lancaster Bombers flanked by Spitfires was Followed by the Red Arrows display team flying over the Palace streaming Red, White and Blue Smoke. The Irish Guards Proceeded with Gunfire Salutes and this was followed by their removing their ceremonial Busbees, and Tradional Cheering the Queen, which seem to delight Her Majesty.

Royal Luncheon and Home for a Cuppa

The two greys, I believe the darker ones are named Storm and Cloudy, which was appropriate for the weather. The Red Carriage horse neck dressings,decoration and pompoms were specially made for this Diamond Jubilee. The coachperson from the third coach that would have been in the prosession presents the tradional bouquet always left in the carriage for the Queen on her return to the Palace on this occasion.

Sunday, 3 June 2012

Gift Box Assembly Step by Step

Click on pictures to see a larger version.
1.Print and cut out your template and tags etc on sheet leaving a small amount of white waste surrounding each piece, this will protect your pieces  edges should you decide to store them for future use.
2. Cut into any corners, a centre and side cuts to faciltate ease of cutting. Cut right up to the templates line edges this will stop over cutting into the template, also cut out any tight places 2A, before cutting out the main template for your Box.
3. When cutting out the rest leave in the little arrow markers at the top edges, this are there to help you centre and line up your hole punching for the ribbon or ties. they can be snipped off after you have punched the holes Hole punching can be  completed before glueing or later after your glue has set.
4. Score and crease all the lines directly on the lines, and crease well, this will help you when assembling your Gift box.
5. Apply glue to the two small lower Side tabs
6. Bend around and glue to the bottom of the Box
7. Bend the large bottom tab to the inside of the Box and Glue the small side tab and stick to the remaining   side's edge.
8. Looking inside your box you can see there is only the bottom large tab left to Glue.
9. Bend to the inside and apply glue with card or spread with finger.
10. Push back aginst the boxes side using a flat surface or ruler to push aginst, so as not to crease your box.
11. Line up the two arrow tabs and punch a hole straight through the two sides held together, using the arrows as a centreing guide.


 The next two pictures shown a box made up, decorate with glitter, ribbon and have fun.

Friday, 1 June 2012

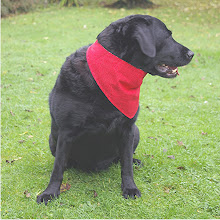
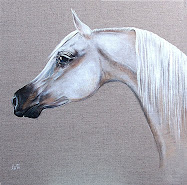
The Queens Horses and Dogs

Celebrating the diamond Jubilee with the Queens Horses & Dogs

Sunday, 27 May 2012

Paper Dolls Step by Step

Hi, here is another picture and text run through, just a few helpful tips please do add your own helpful tips in the comments if you have any, Linda :) These paper dolls were printed out on a good quality bright white card, with a thickness of 275mic or 225gsm. Cut out all the pieces from your printed sheet with scissors, leaving a small amount of white waste around the edges.Picture A. This will protect your pieces till you are ready to cut out and use them, or wish to store them. A good pair of small curved scissors really helps with detailed cutting, as does holding the card piece you are cutting, and moving it through the curves and small variations, rather than just moving the scissors as you cut. I usually trim away the arm parts left on the body shape up to the vest camisole straps or rose neck border and then attach the arms behind the main body. The cutting is indicated with an arrow in picture A and shown during cutting on three different main bodies in Picture B. The skirt on the waisted Main bodices can be cut away into different pantie corset shapes.Picture B & Finished in C. The basic Bodice (shown in picture A, a striped Bodice) can be embellished with crepe paper added or used as an undergarment to further alterations, punch holes or piece where indicated on limbs, or to own preference on bodice and head and shoulders.
Most dolls usually have alternative options of different coloured Arms, Legs, Gloves, Shoes and Boots in different colourways, some are shown in Picture D. As well as the ready to use posable parts for the arms and legs, you can easily create your own by cutting two identical limbs into the separate component parts, shown in picture E & F. Limbs can be cut into 2 or 3 sections, three can be very useful on Arms.Picture E. Arms being cut as; Shoulder joint to and including the Elbow joint, and from the same piece you can cut the Hand up to and including the Wrist joint. From the second limb, you will cut the middle forearm section, cut as; Elbow joint down to and including the Wrist joint.Picture E. Legs only usually need two pieces, being cut as; Thigh down to and including the Knee joint, and then Foot up to and including the Knee joint. Picture F2. You can just make a one cut legs , but these are best stuck into position as there is no room for jointing. Picture F1. Punch holes or pierce where indicated on limbs, or to own preference on bodice and head and shoulders. Back view of paper dolls positioning of limbs in picture G1. Picture G2 don't forget to check all your white waste paper, you may be throwing away your little embellishments. Picture H, finished jointed Ballerina Dolls
Little Dog, and Inking edges
Little Dog. Cut out little dog, Picture 1, Crease where indicated along arrows, Picture 2, Fold Picture 3, Glue added to tab, Picture 4,Stick together and hold, Picture 5, Finished stand up Picture 6. Inking edges I usually ink the edges of hair, black, and brightly coloured edges.Pictures 7,8,&9 I never ink edges of face arms or legs where a bleed through will definately show up. I made up the double parasol back to back cutting away the paper handles and inserting a cocktail stick stuck between the two images as a handle.Picture 8. The double ticket in the 'Theatre/circus' girls was also folded in half and stuck together. Steampunk girls,I would recommend attaching the balloon to wire, to appear as a floating ballon toy. Wings can be added to anything. Layout your dolls and rearrange before deciding on your doll's style, see below pictures.

Monday, 21 May 2012

Lovely Surprise

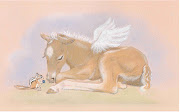
I had a wonderful present pop through the letterbox today. It had had a long journey all the way from the US, and probably held up in our customs too no doubt. Dale Ann is an amazing artist who posted a beautiful Pegasus foal print on her blog that was up for grabs, and I was a lucky winner, Thank you Dale Ann, its gorgeous, here are the pics, it was so beautifully packaged too. Dale Ann's Blog Chronicles of Whimsy http://delarenaissance.blogspot.co.uk/ She has a wonderful Etsy shop too Linda :)

Saturday, 31 March 2012

Earth Hour Tonight. 8.30PM


Just one hour minus lights and power to show we care.

OSWOA (Original Small Works Art) Awards

OSWOA (Original Small Works Art) Awards

YBA ACEO ART CATEGORY AWARDS

YBA ACEO ART CATEGORY AWARDS